May 2013 - Updates
Since the prior blog post, the car has take a new direction. The original thought of using the supplied "Roaring Forties" (Kit car) parts was tossed out the window. And while the exterior will still look like the original (mostly)... under the "hood" will be all custom. This will include quick disconnect fittings on all significant plumbing and electrical lines, modern day electronics (ie: gagues, voltage regulation [no fusebox], LEDs) etc...
Rear End Updates:
Custom built and fitted water lines to front of car to radiator. Gold tips are quick disconnects for ease to swap engines, or switch lines without water spilling.
Fuel lines to and from both gas tanks, low pressure (x2) and high pressure fuel pumps installed
Electrical:
Quick discconects and bulkhead fittings are complete throughout all the car.
Here are the 2 gauge fittings(blue&green) that will run to the engine for the starter, alternator and ground cable.
Front End Updates:
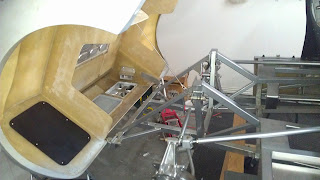
Sheet metal covering (which covers the brake pedal, steering linkage etc) was replaced for plexiglass to allow for better troubleshooting and observation. Master cylinders resiviour was uniquely mounted within the plexiglass. Air intake for A/C blower was scrapped and replaced with a cone filter (mounted through removable plexiglass, above previously mentioned resiviour). Fuse box has been scrapped for better alternatives (more to come).
Previous uprights were scrapped in favor of using Indy/Lola uprights
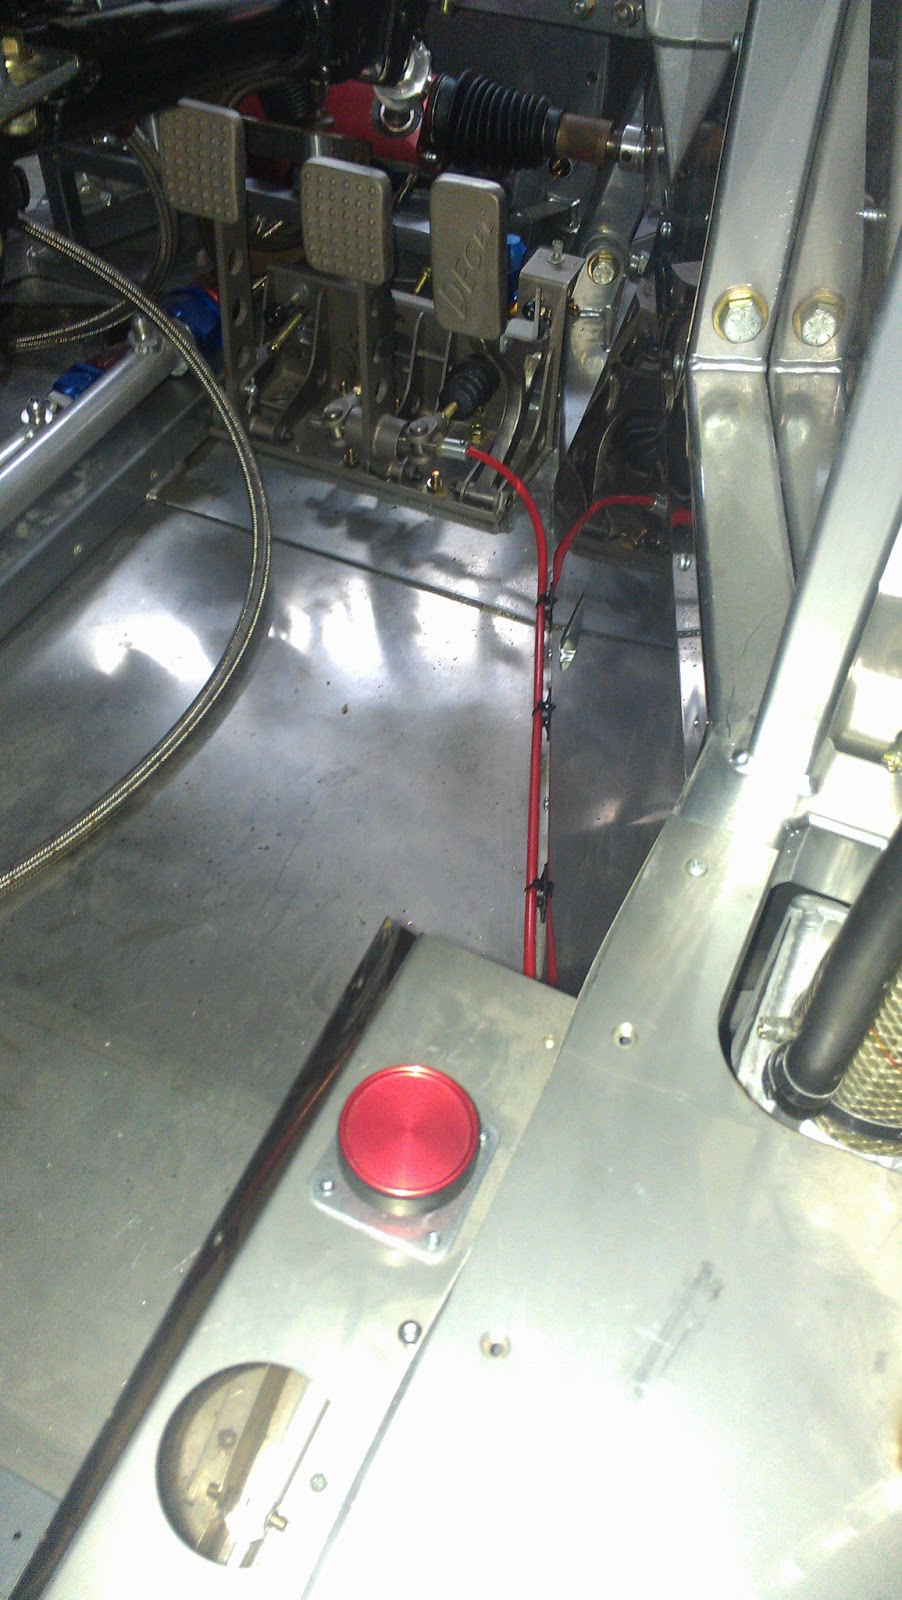
Brake bias (red knob and wire running to brake pedals) installed. This allows you to adjust how much pressure is applied to the brakes (more to front or rear).
Engine Prep:
A full sized (plastic) mock up of the 351W has been used to prepare to the install of the BEAST!
(the engine is upside down FYI... to avoid things from getting down inside of it)


